
Step 1 – Open the Email App
From the home screen on your iPad or even iPhone, open the Mail App which is shown in the image below.
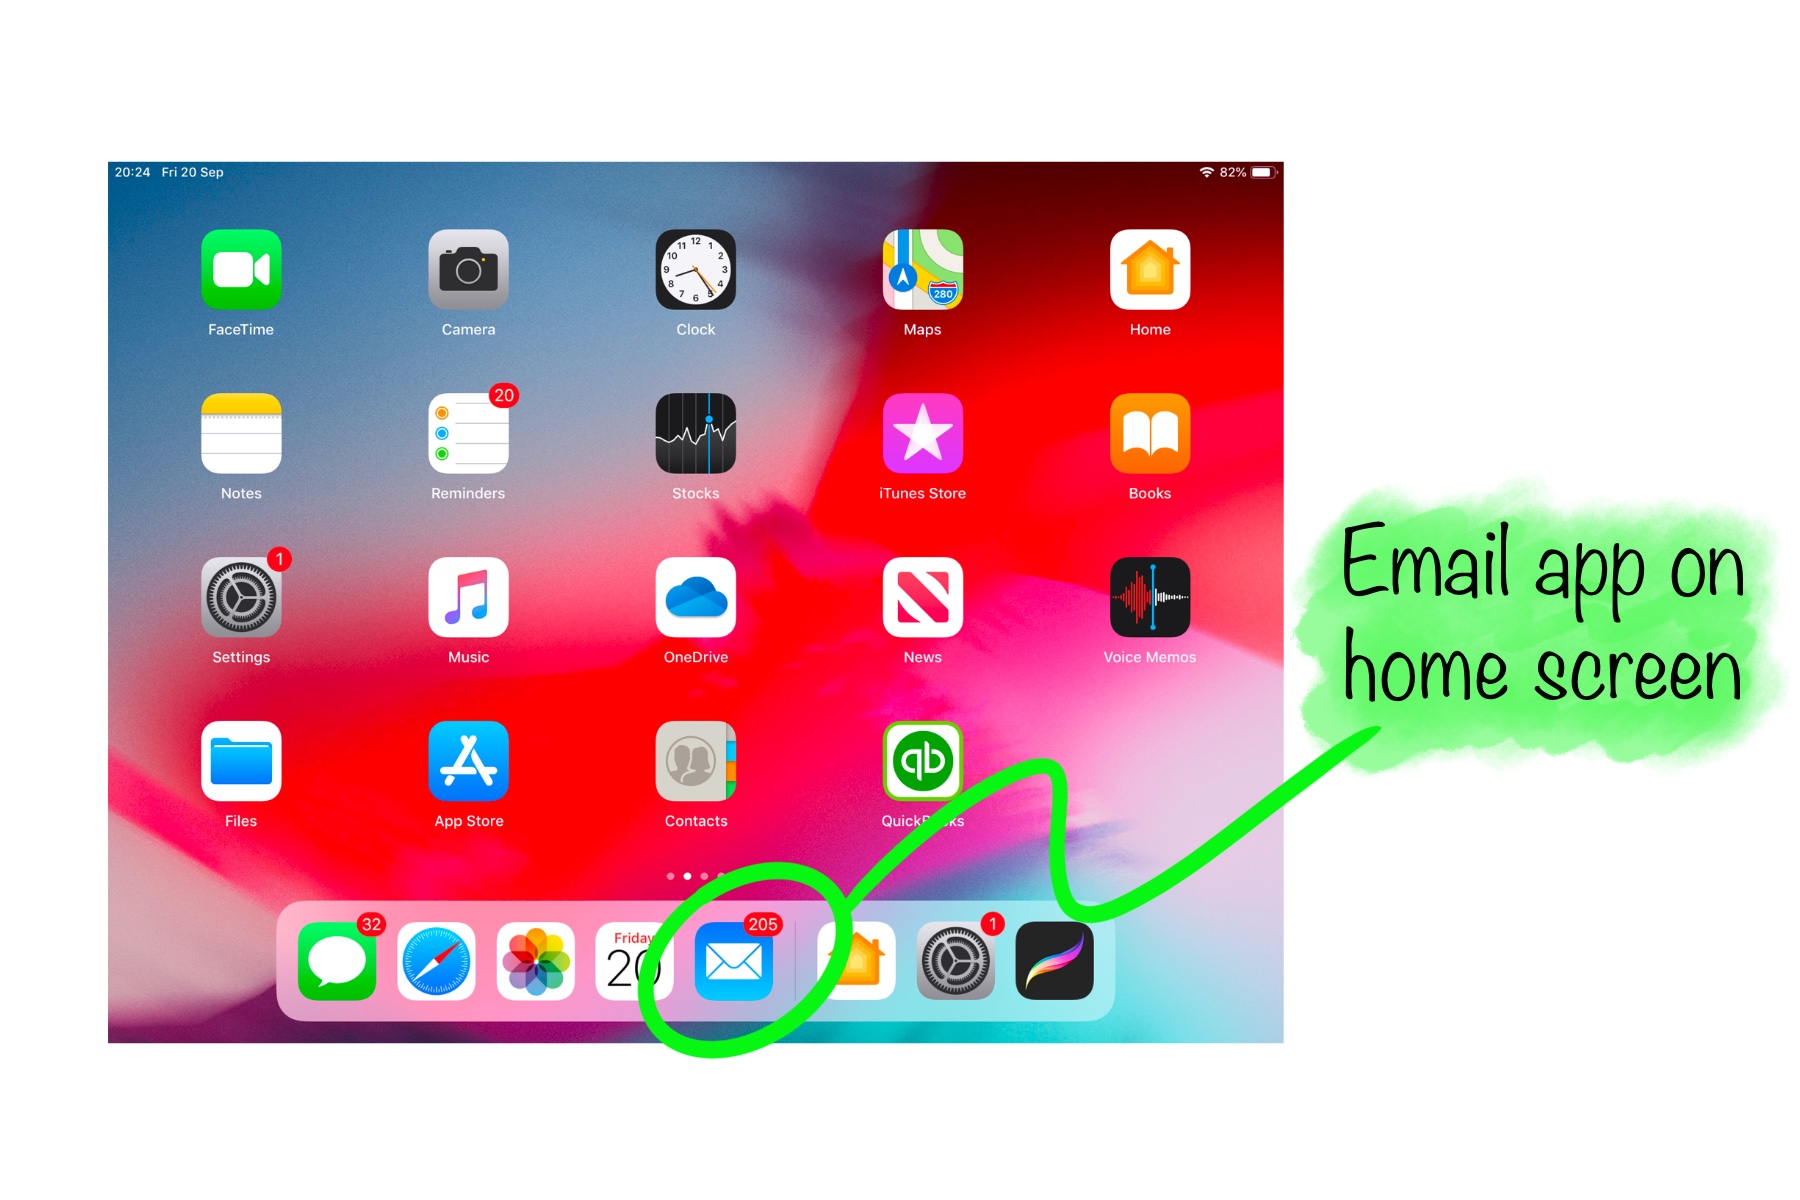
iPad Email App icon shown on screen
The Mail App icon looks like a white envelope on a blue background, a closer image is shown below. Tap your finger or Apple Pencil on the Mail App icon and the App will open. Continue to Step 2.

Close up of Mail App icon, white envelope on blue background
Step 2 – Create new email or reply
After opening the Mail App you will see a list of emails received. To create a new email you will need to tap on the symbol which looks like a pen and piece of paper, located top right of the screen. This is shown in the image below.

New email symbol on iPad screen
If you simply want to reply to one of these emails you can tap the symbol which looks like a left pointing arrow in the top right of the screen, shown in the image below. This will allow you to type a reply then press send.

Reply/forward/print symbol shown on iPad screen
Step 3 – Email recipient and content
Now the new message is opened you can fill in the recipients name (highlighted below in yellow), subject line (highlighted pink) and tap below both of these to begin typing the email content (highlighted blue). Once completed you can tap the ‘Send’ button to the top right of your new email message. Done!

New email recipient and content information
If you have any questions about this tutorial then please don’t hesitate to get in touch, we are always happy to help.


